Lesson 2: Set Project Start Date
In most situations, a project should be scheduled from a known start date. When you create a new project plan, you should start by specifying the start date of your project. Each project has a start date that marks the point in time when the activities related to the project may start.
The first step in creating a schedule is opening a new file and designating a project start date or finish date, as well as other general project information. For most projects, it is most effective to schedule a project from a start date and let Project Plan 365 determine the finish date based on the tasks, durations, dates, and other information you enter. If you don't enter a project start date, Project Plan 365 automatically uses the current date as the start date.
Note: Please know that in Project Plan 365 a project can only be scheduled from the start date and not from the finish date.
Step by step on how to set the start date for your project:
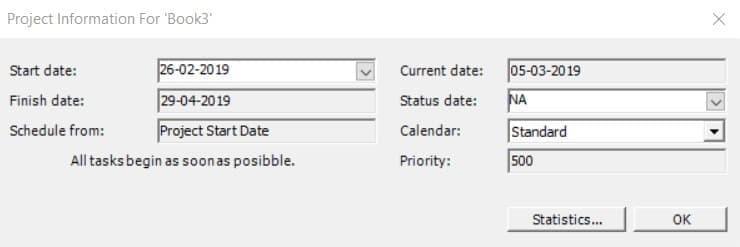
1. Click menu Project– Project Information.
2. Find the project Start Date field and modify it as desired.
Notes:
- By default, the Start Date is set to be the current date.
- The Finish Date of the project will automatically be computed and updated by the application.
- Once the Project Start Date has been set, each new task you create will have by default as Start Date the Project Start Date or the next working day if the Project Start Date is a nonworking day. Subsequently, the start date of a task may get changed due to constraints you impose by linking tasks or editing the start date.
Project management tip
Schedule your project from a start time if you can. Even if you know the date by which a project must be completed, scheduling from a start date gives you the maximum amount of flexibility.
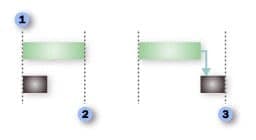
When you add a new task to a schedule, it is automatically scheduled to start on the project's start date. As tasks are added to the schedule and connected to other tasks, the start times of tasks will change, and the last task to finish determines the project's finish date.
1. When you create a new project, you first enter the project's start date. When you schedule a project from the start time, all tasks start at the project start date unless you specify otherwise.
2. For automatically scheduled tasks (by default), with no task dependencies or constraints applied, the project's duration is the same as the duration of the longest task. In other words, the project finish date is the same as the longest task's finish date.
3. Task dependencies, such as the finish-to-start dependency between the first and second tasks, can change the project's finish date.
 Practice
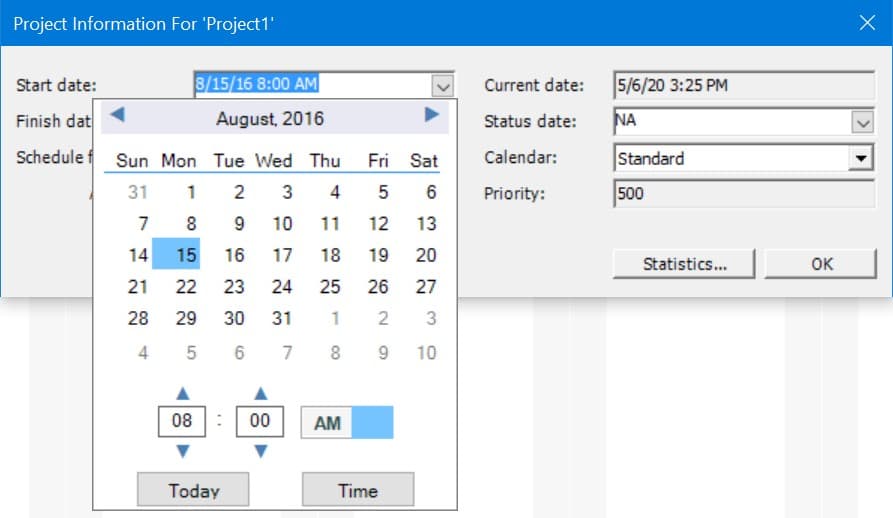
1. Using the Project Information option available under Project menu, change the start date of the project to be 15-08-2016 (i.e. 15th August 2016).
 Video
Video
If you prefer to see things in action, rather than reading text, watch out this video, which covers some of the topics from this section.


